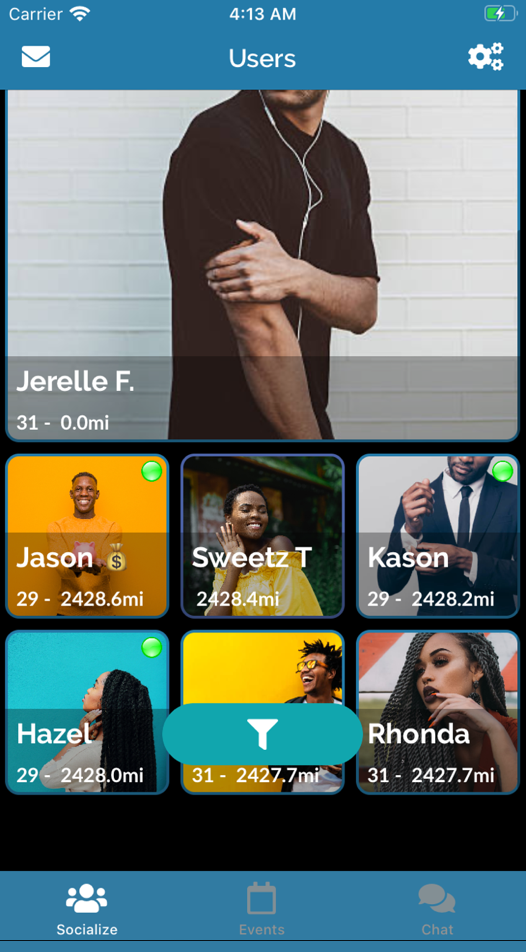


Locals To Meet
Using the Epson Adjustment Program may void your printer's warranty. Additionally, resetting the counters may not resolve underlying issues with your printer, and improper use of the software could cause further problems.
Before downloading tools, you must identify why your printer stopped working. Inkjet printers flush a small amount of ink during printhead cleaning cycles. This waste ink drains into physical porous pads located at the bottom of the machine. Key Symptoms of a Locked Printer
Before you throw away your printer or pay for expensive repair services, you should know that this is a digital lock built into the printer's firmware. You can bypass this lock and restore your printer to full functionality using a specialized utility known as the (also called the Epson Resetter).
Fine-tunes the physical position of the printhead to eliminate horizontal banding or blurry text. Step-by-Step Guide: Resetting the Waste Ink Pad Counter epson adjustment program sx 125
To help me provide more tailored guidance, could you share a bit more context?
Scroll down through the list until you find the section. Click on Waste ink pad counter and press OK . Step 5: Check the Current Value Check the box next to Main pad counter . Click the Check button.
Many heavy users cut the internal tube that feeds the waste pads, extend it with silicone fish-tank tubing, and route it out into an external bottle. This eliminates the need to ever open the printer chassis again. Troubleshooting Common Software Errors Using the Epson Adjustment Program may void your
Using the Adjustment Program How to Diagnose and Correct Epson Printer
With the customer watching anxiously, Alex inserted the USB drive into the printer, ran the program, and selected the SX125 model. The software whirred and beeped, and after a few minutes, it displayed a message: "Adjustment successful!"
Turn the printer back on. The flashing red error lights should now be clear, and the printer status monitor will show the machine is ready to print. Troubleshooting Common Errors Error Code / Message Probable Cause Actionable Solution Bad cable connection or incorrect port assignment. Inkjet printers flush a small amount of ink
If you reset the counter multiple times without addressing the physical sponges, the accumulated waste ink will eventually overflow out of the bottom of the printer casing, creating a significant mess. How to manage the physical ink:
Before using this program, you should confirm it is necessary. Typically, you will know you need a reset when:
In the selection menu, change it from "Auto Selection" to the specific USB port where your printer is connected (it will usually explicitly show "USB[XXX] (Stylus SX125)"). Click OK . Step 3: Navigate to Maintenance Mode
To successfully clear the service error using the Adjustment Program, follow these structural steps carefully. Prerequisites
While the software provides a quick fix for the "Service Required" error, using it comes with significant risks:
Using the Epson Adjustment Program may void your printer's warranty. Additionally, resetting the counters may not resolve underlying issues with your printer, and improper use of the software could cause further problems.
Before downloading tools, you must identify why your printer stopped working. Inkjet printers flush a small amount of ink during printhead cleaning cycles. This waste ink drains into physical porous pads located at the bottom of the machine. Key Symptoms of a Locked Printer
Before you throw away your printer or pay for expensive repair services, you should know that this is a digital lock built into the printer's firmware. You can bypass this lock and restore your printer to full functionality using a specialized utility known as the (also called the Epson Resetter).
Fine-tunes the physical position of the printhead to eliminate horizontal banding or blurry text. Step-by-Step Guide: Resetting the Waste Ink Pad Counter
To help me provide more tailored guidance, could you share a bit more context?
Scroll down through the list until you find the section. Click on Waste ink pad counter and press OK . Step 5: Check the Current Value Check the box next to Main pad counter . Click the Check button.
Many heavy users cut the internal tube that feeds the waste pads, extend it with silicone fish-tank tubing, and route it out into an external bottle. This eliminates the need to ever open the printer chassis again. Troubleshooting Common Software Errors
Using the Adjustment Program How to Diagnose and Correct Epson Printer
With the customer watching anxiously, Alex inserted the USB drive into the printer, ran the program, and selected the SX125 model. The software whirred and beeped, and after a few minutes, it displayed a message: "Adjustment successful!"
Turn the printer back on. The flashing red error lights should now be clear, and the printer status monitor will show the machine is ready to print. Troubleshooting Common Errors Error Code / Message Probable Cause Actionable Solution Bad cable connection or incorrect port assignment.
If you reset the counter multiple times without addressing the physical sponges, the accumulated waste ink will eventually overflow out of the bottom of the printer casing, creating a significant mess. How to manage the physical ink:
Before using this program, you should confirm it is necessary. Typically, you will know you need a reset when:
In the selection menu, change it from "Auto Selection" to the specific USB port where your printer is connected (it will usually explicitly show "USB[XXX] (Stylus SX125)"). Click OK . Step 3: Navigate to Maintenance Mode
To successfully clear the service error using the Adjustment Program, follow these structural steps carefully. Prerequisites
While the software provides a quick fix for the "Service Required" error, using it comes with significant risks:
Our team works around the clock to not only ensure that the profiles you interact with are real, and that all media uploaded is authentic. We've introduced a convenient process to allow users to verify there media in 3 steps to keep credibility.
Select any previously uploaded videos or images that you would like to verify.
Using your device's camera; take a photo or record a video of yourself. Videos are preferred as they provide more accuracy during the verification process.
Tap done to submit your media to Mako. The team will review and process your request typically within 24 hours. A notification will be sent to you when this is complete. For all approved media, a blue check will appear next to it them.

First question is about Riga's availability on markets?
Riga was developed for both major mobile platforms to be able to serve as many users as possible. It wasn't easy and it required a lot of development time but now people from all over the world can enjoy the app.
Second question is about the reason of being for Riga and what sparked this awesome software project?
It all started with one of those days when everything goes wrong and you feel at the end of your patience. At the end of one of this type of days, the founder came up with the idea of building an app that would help him get by.
Third question is about some of the app's features?
Every feature was carefully planned and introduced only after debating the idea with all team members and getting their complete approval. The testing department did a great job in making sure everything works like a charm.
Riga also automatically collects and information
Including the activities you perform on our Website, the Platforms, and the Applications, the type of hardware and software you are using (for example, your operating system or browser), and information obtained from cookies.
For example, each time you visit the Website or otherwise use the Services, we collect your IP
Browser and device type, access times, the web page from which you came, the regions from which you navigate the web page, and the web page(s) you access (as applicable). When you first register for a Riga account and enjoy.
The geographic area where you use your computer
Your full name, username, and email address and other contact details. A unique Riga user ID (an alphanumeric string) which is assigned to you upon registration. Other optional information as part of your account profile.
Check out some of the events happening on Mako Now!
Locals To Meet
Good Reviews
Active Events
Mako is app focused on the quality of our users and content; so we take privacy and security seriously. Check out our Terms & Conditions and Privacy Policy to get more details.
DownloadBusiness management app to improve your operational flow and increase revenues. Download now and enjoy.
This is a great app which can help you save time and make your live easier. You should definitely give it a try.
| Responsive layout | |
| Distinctive CTAs | |
| Image gallery slider | |
| Contact forms | |
| FontAwesome icons | |
| Well-structured code |
Get in shape quickly with the exercise plans provided by our fitness mobile app. Download now and enjoy.
This is a great app which can help you save time and make your live easier. You should definitely give it a try.
| Responsive layout | |
| Distinctive CTAs | |
| Image gallery slider | |
| Contact forms | |
| FontAwesome icons | |
| Well-structured code |
Start to save for rainy days. This app will help you save money on the long run. Download now and enjoy.
This is a great app which can help you save time and make your live easier. You should definitely give it a try.
| Responsive layout | |
| Distinctive CTAs | |
| Image gallery slider | |
| Contact forms | |
| FontAwesome icons | |
| Well-structured code |
Find the best accommodation, health insurance and transportation for your trip. Download now and enjoy.
This is a great app which can help you save time and make your live easier. You should definitely give it a try.
| Responsive layout | |
| Distinctive CTAs | |
| Image gallery slider | |
| Contact forms | |
| FontAwesome icons | |
| Well-structured code |
Use the contact form to send us your message or drop by to meet us over a cup of coffee at our office headquarters.
Copyright 2018 © 8th Court Technologies, L.L.C