Not a recording—a copy. A snapshot of a human brain's entire connectome, compressed into 1.8 GB of sparse matrix data. The firmware wasn't for a DVR. The DVRG008CE was a shell. Inside its steel case, a modified TI TMS320DM642 DSP ran not compression algorithms, but a real-time synaptic emulator. Someone had repurposed a mass-market surveillance recorder into a portable consciousness container.
| Step | Action | |------|--------| | 1 | Connect PC to DVRG008CE’s console port (usually labeled “P3” or “DEBUG”). | | 2 | Launch flasher tool as administrator. | | 3 | Select “Load Firmware” and choose the dvrg008ce_full.bin file. | | 4 | Choose “Full Flash” (not “Bootloader Only” or “Application Update”). | | 5 | Initiate the flash – do not interrupt power or disconnect during this phase. | | 6 | Wait for verification step (device will reboot automatically). | | 7 | Restore saved configuration (if compatible across firmware versions). |
Forums like PLCs.net, Reddit r/PLC, or electrical engineering groups sometimes share firmware. However,
Some updates may reset your configurations, so note down your IP settings and recording schedules first. How to Perform the "Full" Update Step 1: Download the Correct File
Before any firmware operation:
The device turns on, displays the initial boot logo, and permanently freezes or constantly restarts.
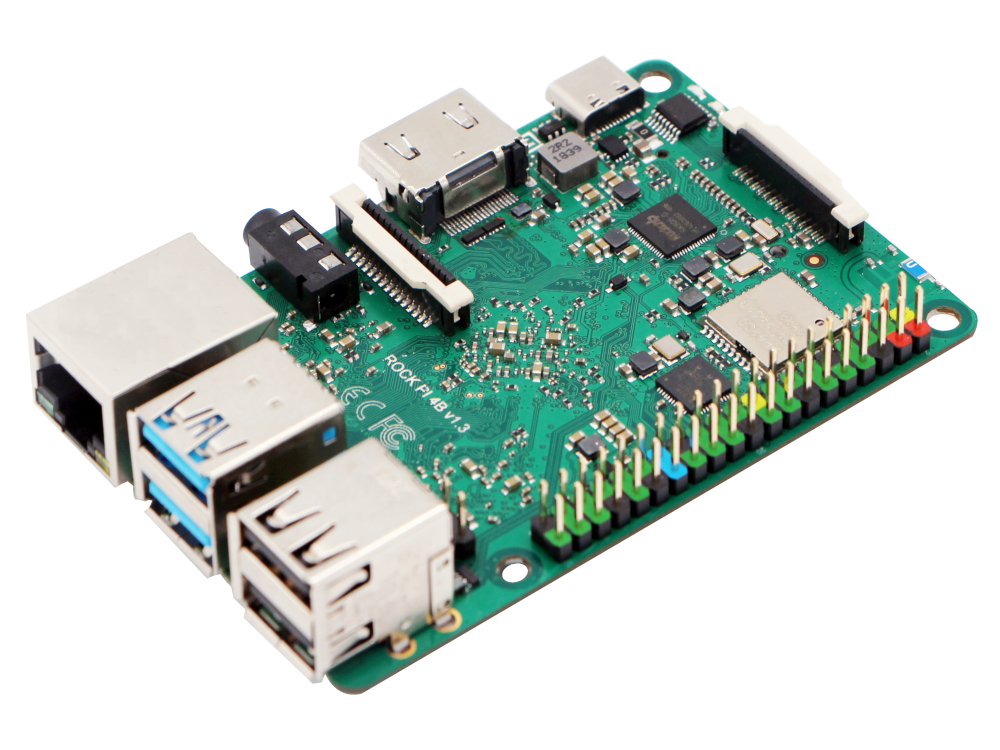
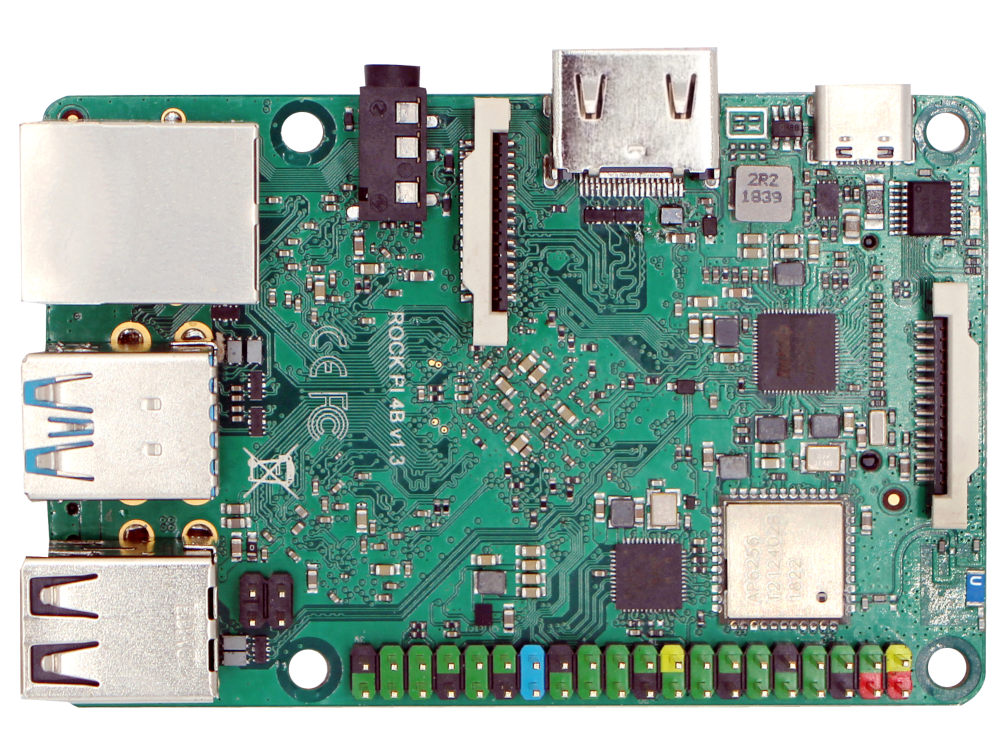
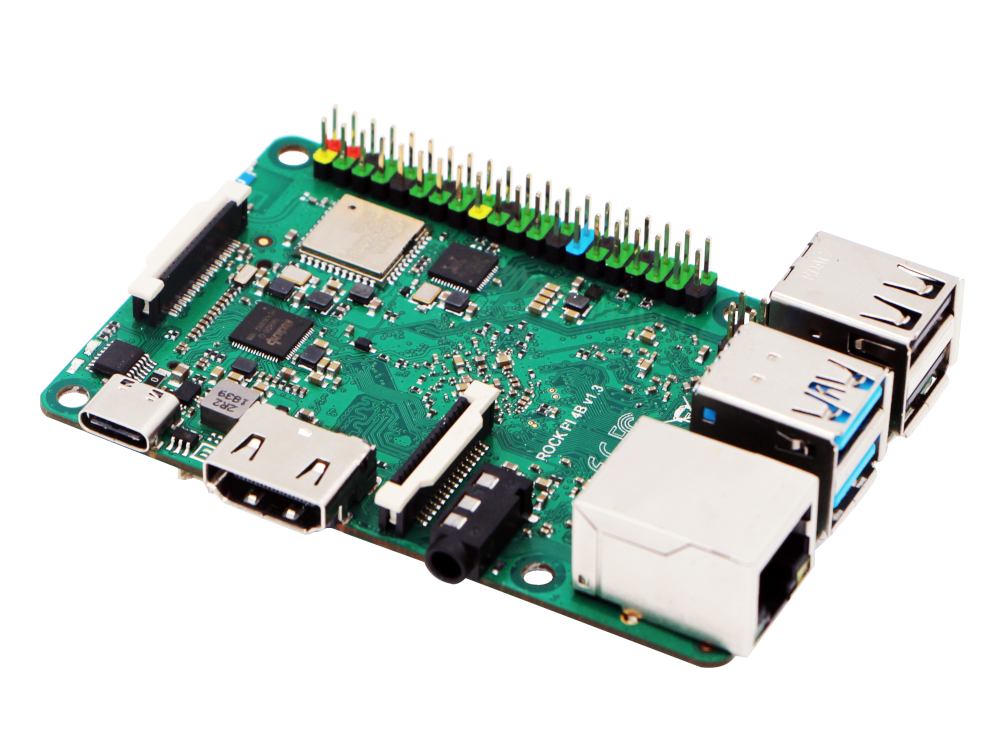
If your video recorder is experiencing boot loops, frozen logos, network disconnects, or has been compromised by malware, applying a full firmware flash reinitializes the system back to factory-fresh stability. This comprehensive guide outlines the technical preparation, step-by-step installation, and recovery methods for the DVRG008CE mainboard. Technical Specifications of the DVRG008CE Hardware
: Navigate to the system information menu and write down the current software and hardware versions. This helps confirm compatibility and serves as a recovery reference.
The DVR will show a progress bar. Interrupting this will ruin the hardware.
The system will restart automatically once finished. Troubleshooting Common Issues